In a world dominated by the enchantment of social media, a new art has emerged—one that tantalizes not just the taste buds, but the eyes and souls of those who scroll. Food photography, a magical blend of culinary craftsmanship and visual storytelling, has taken center stage. It's a symphony of flavors and colors, an ode to the divine creations that grace our tables.
In this realm where pixels hold as much power as flavors, the idea of capturing the very soul of a delectable feast through a lens might seem like an endeavor meant only for the virtuosos. The daunting task of professional food photography can send shivers down the spine, especially when armed with only a smartphone and natural light. But fear not, we are here to help! Below we've enlisted the expertise of professional photographers and gathered valuable tips to help you master food photography using just your smartphone.
1. Embrace Natural Light
When possible, utilize natural daylight to capture your food photos. Position your setup near a window with the light coming from the side to create attractive shadows and highlight textures. Avoid artificial light sources and the use of flash, as they can produce unwanted color casts and harsh lighting.

2. Opt for Vibrant Colors
Bold, vibrant colors can make your food images stand out. Look for colorful ingredients and garnishes to add visual appeal to your shots. Keep in mind that some colors may not appear as stunning on your phone's camera as they do in real life, so experiment with different combinations.

3. Utilize Portrait Mode Wisely
Most smartphones offer a Portrait mode or similar feature to achieve a shallow depth-of-field effect. Use this mode strategically to highlight well-defined subjects and create a professional touch. Be cautious when shooting glassware, as the mode may cause ghosting or undesirable effects.
4. Enable Gridlines for Better Composition
Switch on the grid lines in your phone's camera settings to aid in composing your shots. The rule of thirds is a valuable guideline for placing your subject at intersecting points on the grid, resulting in balanced and visually pleasing compositions.
5. Incorporate Food Props
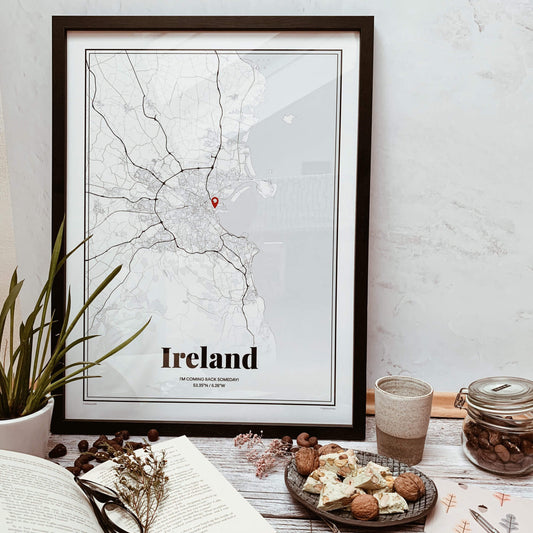
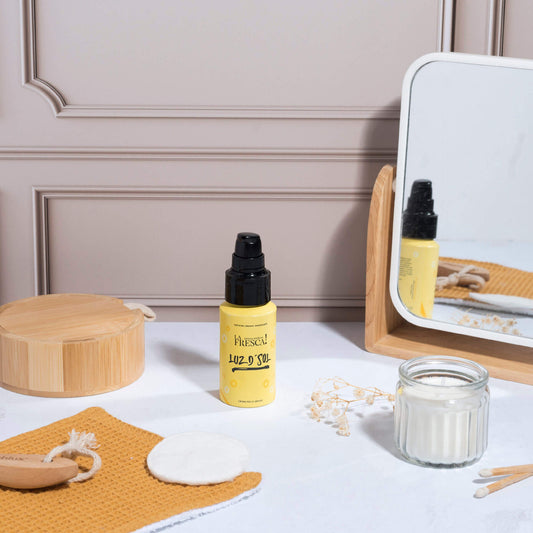
In addition to the main dish, consider using food props like dishes, utensils, and cutting boards to enhance the visual story of your food photography. These props add depth and context to your images, making them more engaging and attractive.

6. Set Up a Captivating Composition
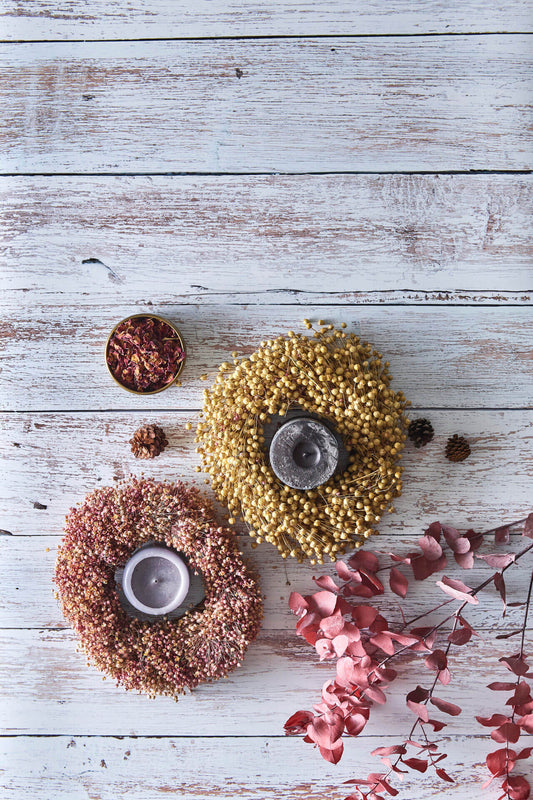
Take the time to set up your shot thoughtfully. Consider angles, backgrounds, and the arrangement of elements in your frame. Shoot overhead for flat lay shots and eye level for tall, layered dishes to capture the best angles.
7. Garnish with Snapseed Editing
Post-processing your food photos is essential for giving them a polished look. The Snapseed app, favored by professionals, offers various editing tools like brightness, shadows, and highlights as well as a brush tool for selective adjustments.
8. Craft a Story with Your Images
Create compelling food images that tell a story beyond just showcasing the dish. Think about the mood, theme, and season you want to convey through your photography. Backgrounds and props play a crucial role in storytelling.

With these expert tips, you can master the art of food photography with your smartphone. Whether you're capturing a delectable homemade creation or a restaurant masterpiece, applying these techniques will elevate your food images to a professional level. Remember, practice and experimentation are key to honing your skills and creating stunning food photos that leave viewers craving more. Happy shooting!

