


Product Photography Guide for Stunning Backdrop Shots
Finding the right backdrop can quickly become the difference between forgettable photos and images that truly capture attention. For professional photographers and savvy e-commerce sellers worldwide, backdrop choice is not just about aesthetics—it directly impacts visual storytelling and buyer perception. A well-chosen, durable surface creates a consistent brand presence and minimizes editing time. Discover how selecting the ideal backdrop and location can transform everyday products into compelling visuals that enhance credibility in any American, Canadian, or European shop.
Table of Contents
- Step 1: Choose The Ideal Backdrop And Location
- Step 2: Set Up Lighting For Flawless Clarity
- Step 3: Arrange Products For Consistent Presentation
- Step 4: Adjust Camera Settings For Sharp Results
- Step 5: Review And Refine Final Photos
Quick Summary
| Key Insight | Explanation |
|---|---|
| 1. Choose Backdrops Wisely | Select backdrops that enhance or contrast with your product for better visual impact. |
| 2. Master Lighting Techniques | Use controlled lighting to improve clarity and texture, ensuring professional-looking images. |
| 3. Consistent Product Arrangement | Use strategic composition techniques to enhance visual storytelling and brand identity. |
| 4. Optimize Camera Settings | Adjust settings like aperture and ISO for sharper, higher-quality product photographs. |
| 5. Refine in Post-Processing | Employ software tools to correct color and enhance details, checking for imperfections at full zoom. |
Step 1: Choose the Ideal Backdrop and Location
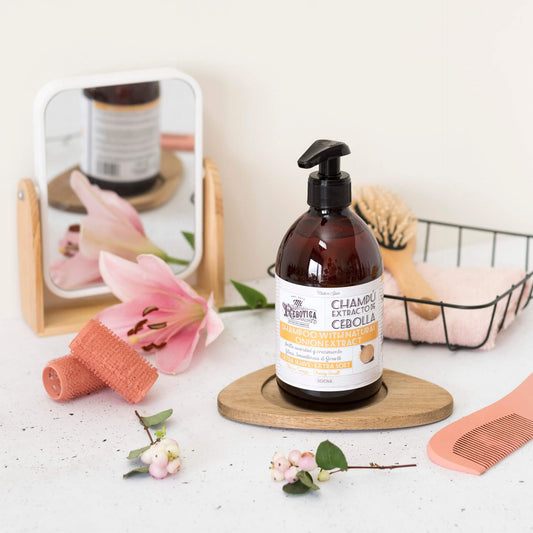
Selecting the perfect backdrop transforms product photography from ordinary to extraordinary. Your backdrop sets the visual stage, determining how customers perceive and connect with your product.
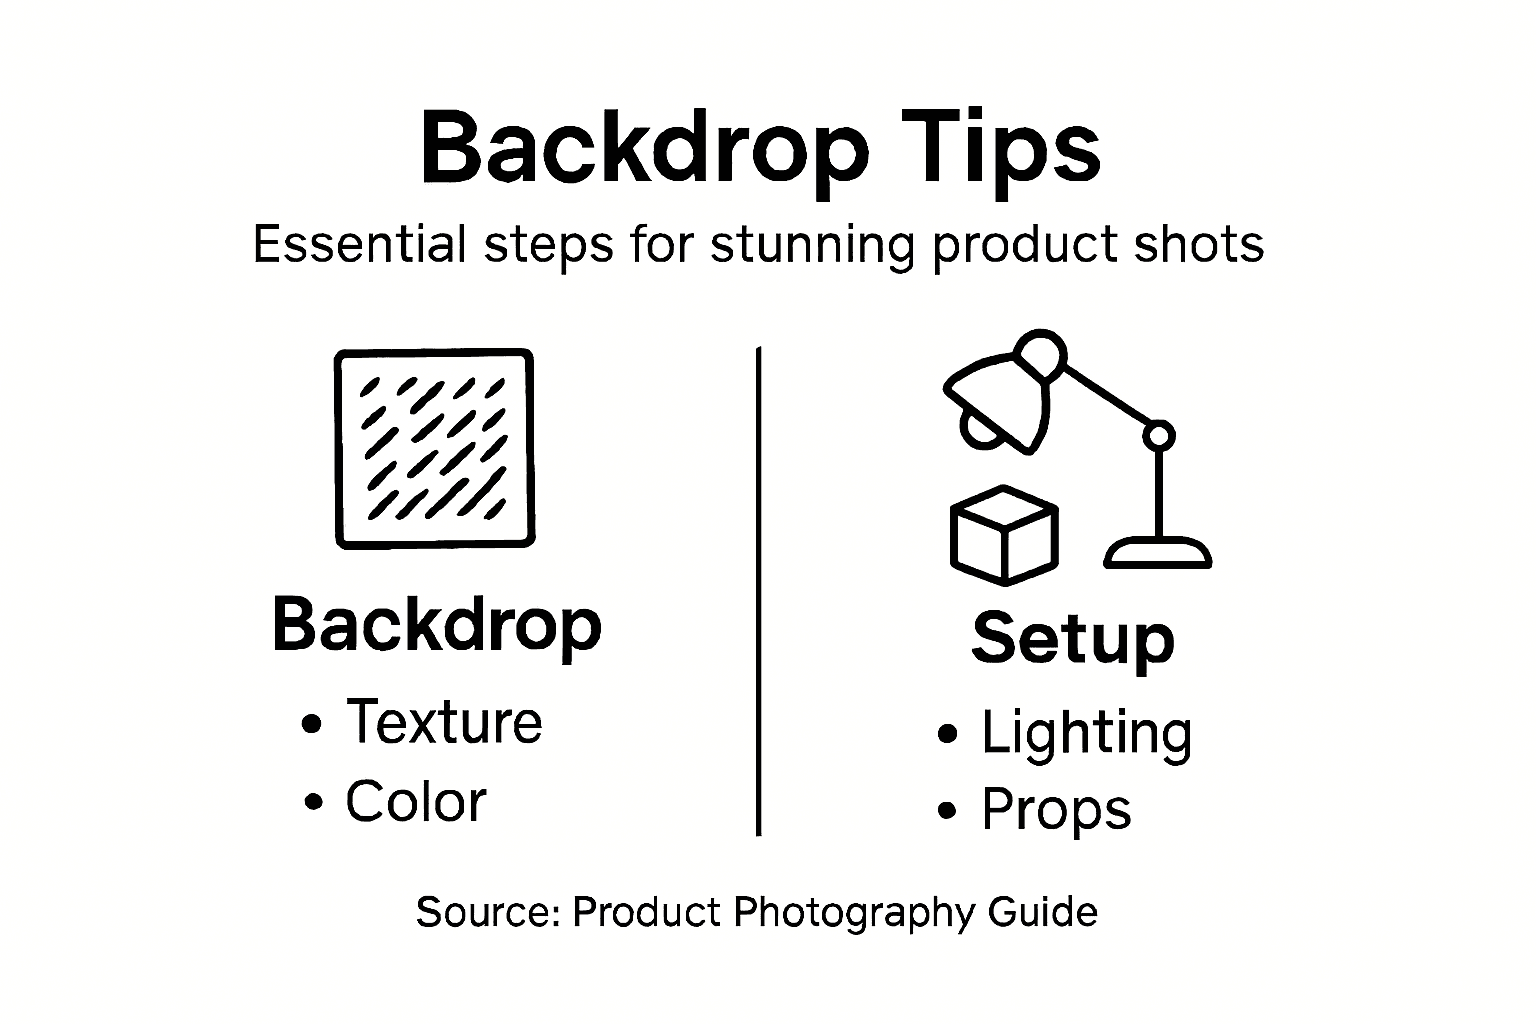
Start by analyzing your specific product’s characteristics. Backdrop selection impacts product presentation dramatically, influencing buyer perception and brand storytelling. Consider these critical elements when choosing your backdrop:
- Product Color: Select backdrops that complement or intentionally contrast your product’s hues
- Texture Requirements: Match backdrop texture to product surface (smooth, rough, metallic)
- Brand Identity: Ensure backdrop aligns with your visual brand language
- Lighting Considerations: Choose surfaces that enhance rather than distract from product details
Professional photographers understand that backdrops are not just backgrounds - they’re strategic visual tools. A marble-textured backdrop might elevate luxury jewelry, while a rustic wooden surface could highlight artisanal crafts. The goal is creating a narrative that resonates with your target audience.
Here’s a quick reference comparing popular backdrop types for product photography:
| Backdrop Type | Typical Use | Visual Impact | Consideration |
|---|---|---|---|
| Paper | Apparel, electronics | Clean, neutral look | Prone to creasing |
| Fabric | Jewelry, home goods | Soft, textured appeal | May show wrinkles |
| Wood | Artisanal, rustic | Warm, organic feel | Color tone can differ |
| Marble | Luxury, upscale | Elegant, refined finish | Heavy and pricey |
| Vinyl | Food, cosmetics | Easy to clean, durable | Limited texture options |
Practical Location Factors also matter immensely. Indoor studio environments offer controlled lighting and consistent results, while natural settings can provide dynamic, authentic contexts. Consider:
- Consistent light conditions
- Minimal background distractions
- Ability to replicate setup across multiple product shots
A well-chosen backdrop doesn’t just display your product - it tells its story.
Pro tip: Always test multiple backdrop options by shooting sample images to see how your specific product interacts with different background textures and colors.
Step 2: Set Up Lighting for Flawless Clarity
Lighting transforms ordinary product shots into professional visual masterpieces. Understanding how to manipulate light will elevate your photography from amateur to exceptional.
Lighting controls texture, clarity, and mood through strategic positioning and technique. Professional photographers utilize three fundamental lighting approaches:
- Soft Diffused Light: Creates gentle, even illumination
- Directional Light: Highlights product contours and edges
- Layered Lighting: Builds depth and dimensionality
The classic three-point lighting setup remains a cornerstone of professional product photography. This approach involves:
- Key Light: Primary illumination source
- Fill Light: Reduces harsh shadows
- Back Light: Separates product from background
Artificial lighting offers significant advantages over natural light. Studio Light Sources like LED panels and softboxes provide consistent, controllable illumination that can be precisely adjusted to showcase your product’s unique characteristics.
Mastering light means understanding how each angle and intensity reveals your product’s true essence.
Practical Lighting Techniques require careful experimentation. Experiment with light modifiers like diffusers and reflectors to soften harsh shadows and create professional-looking images. Positioning matters immensely - slight adjustments can dramatically transform your product’s visual appeal.
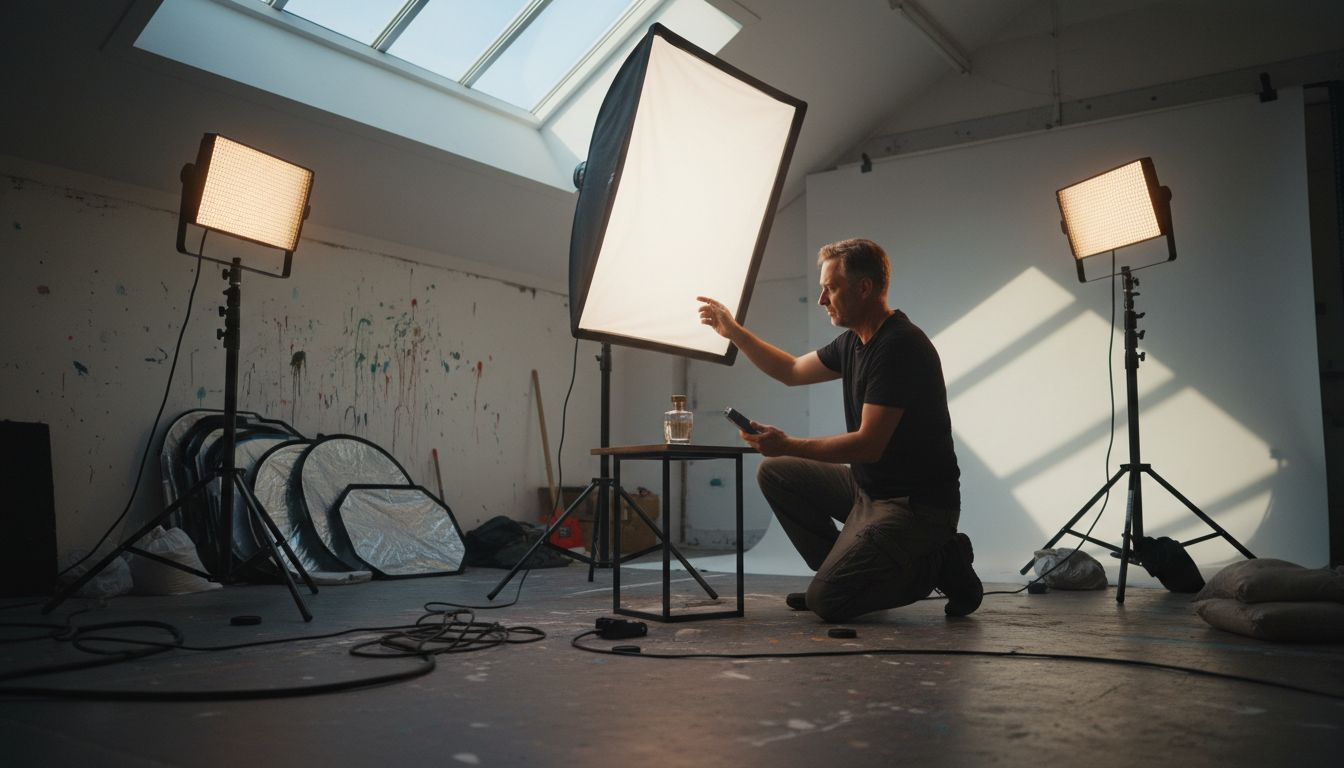
Pro tip: Invest in adjustable light stands and multiple diffusers to give yourself maximum flexibility in creating the perfect lighting environment for different product types.
Step 3: Arrange Products for Consistent Presentation
Creating a professional product photography series requires more than just technical skills - it demands a strategic approach to visual presentation. Your goal is to craft images that tell a consistent, compelling brand story.
Product styling communicates brand values through intentional composition and arrangement. Professional photographers understand that every detail matters, from product placement to background interaction.
Key composition strategies include:
- Rule of Thirds: Position products at intersecting grid lines
- Negative Space: Allow breathing room around products
- Symmetry: Create balanced, visually pleasing arrangements
When arranging multiple products, consider these critical principles:
- Maintain consistent spacing
- Use complementary angles
- Ensure each product remains clearly visible
Product Placement Techniques transform ordinary shots into marketing masterpieces. Centered, symmetrical arrangements work well for isolated product images, while dynamic positioning can create visual narrative and interest.
Consistency is the silent language that builds brand recognition and consumer trust.
Props play a subtle but powerful role in product storytelling. Choose supporting elements that enhance - not distract from - your primary product. Minimal, thoughtful styling communicates professionalism and intentionality.
Pro tip: Create a detailed style guide with precise placement measurements and lighting specifications to ensure reproducibility across all product photography sessions.
Step 4: Adjust Camera Settings for Sharp Results
Capturing professional-quality product images demands precision in your camera settings. Understanding how to optimize each parameter transforms good photographs into exceptional visual representations.
Camera settings control image clarity with remarkable nuance. Professional photographers rely on manual mode to achieve consistent, high-quality results across different shooting scenarios.
Key camera settings for product photography include:
- Aperture: Control depth of field
- ISO: Manage image noise
- Shutter Speed: Prevent motion blur
- White Balance: Ensure accurate color reproduction
Optimal technical configurations typically involve:
- Set aperture between f/8 and f/11
- Keep ISO low (100-200)
- Use shutter speeds from 1/60 to 1/250 seconds
- Enable manual focus for precise control
Stabilization Techniques dramatically improve image sharpness. A sturdy tripod eliminates camera shake, while remote shutter releases or self-timer functions prevent subtle movements that could compromise image quality.
Precision in camera settings transforms technical knowledge into visual artistry.
Additional considerations include using a macro lens for close-up product shots, enabling tack-sharp details and maintaining consistent image quality across different product sizes.
Pro tip: Always do a test shot and zoom in to 100% magnification to verify absolute sharpness before completing your entire product photography session.
Step 5: Review and Refine Final Photos
Transforming good product photographs into exceptional marketing assets requires a meticulous review and refinement process. Your post-processing workflow determines the final visual impact of your images.
Post-processing elevates product photography through strategic technical adjustments. Professional photographers use sophisticated software to enhance image quality and consistency.
Key post-processing strategies include:
- Color Correction: Ensure true-to-life product representation
- Exposure Adjustment: Balance light and shadow
- Dust and Imperfection Removal: Create clean, professional images
- Sharpness Enhancement: Highlight product details
Recommended refinement steps:
- Initial image culling
- Basic color and contrast correction
- Detailed retouching
- Background cleanup
- Final platform-specific export
Software Tools play a crucial role in professional image refinement. Adobe Lightroom handles batch adjustments efficiently, while Photoshop provides advanced retouching capabilities for precision editing.
This summary highlights how major post-processing tools support product photography refinements:
| Software Tool | Strengths | Best For | Ease of Batch Use |
|---|---|---|---|
| Lightroom | Color corrections, batch edits | Cataloging multiple images | Very efficient |
| Photoshop | Advanced retouching, layers | Removing flaws/details | Moderate |
| Capture One | Color accuracy, tethering | Studio shoots, skin tones | Efficient |
| GIMP | Free, customizable, broad use | Budget-friendly edits | Limited |
Consistent post-processing transforms raw photographs into compelling visual narratives.
Careful attention to detail separates amateur snapshots from professional product images. Examine each photo at 100% magnification, checking for subtle imperfections that could distract potential customers.
Pro tip: Create and save custom editing presets to maintain consistent style and reduce processing time across multiple product images.
Elevate Your Product Photography with Perfect Backdrops
Struggling to find a backdrop that truly complements your product and enhances your story The right backdrop not only sets the tone but also ensures consistent, professional-quality images every time. This article highlights the challenge of selecting backdrops that match your product’s color, texture, and brand identity while accommodating lighting and composition needs. At Instant Backdrops we understand these exact pain points offering ultra-realistic, durable vinyl backdrops that resist spills and look flawless even in close-up shots.
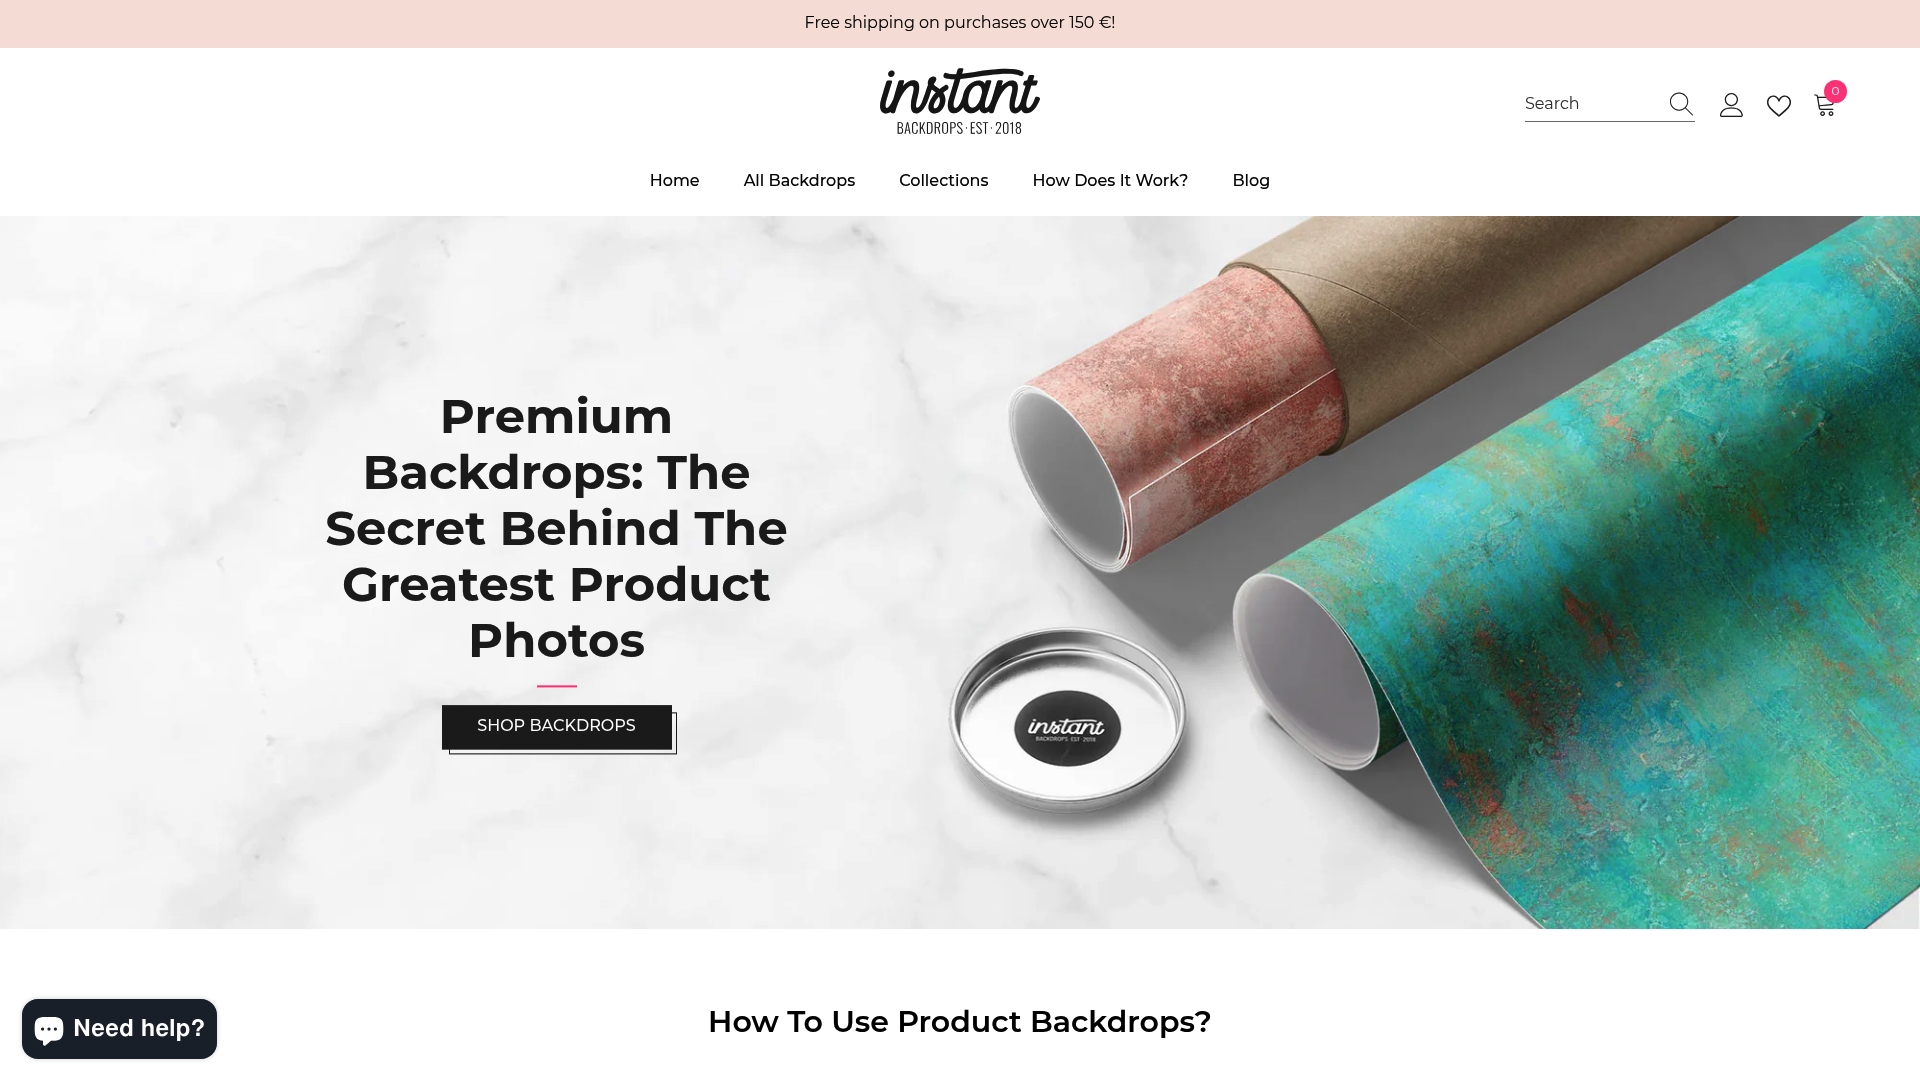
Discover our full range at All product photography backdrops – Instant Backdrops featuring curated collections including the elegant Aristocrat backdrop collection for product & food photography – Instant Backdrops. Whether you need solid and gradient backgrounds to control mood or textured surfaces like wood and marble to tell your product’s unique story explore our diverse options. Act now and transform your visual content with backdrops designed to withstand any shoot circumstance while saving you time and frustration. Visit Instant Backdrops today and make your product photos unforgettable.
Frequently Asked Questions
How do I choose the right backdrop for my product photography?
Selecting the right backdrop involves considering your product’s color, texture, and brand identity. Start by analyzing your product’s characteristics and test different backdrops by shooting sample images to see how they interact with your product.
What lighting techniques should I use for product photography?
Utilize a three-point lighting setup consisting of a key light, fill light, and back light to achieve well-lit product images. Experiment with soft diffused light for an even glow and adjust your lighting setup to improve clarity and detail in your photos.
What are the key composition strategies for arranging products?
To create appealing product images, apply composition techniques like the rule of thirds, negative space, and symmetry. Ensure consistent spacing and visibility for each product in your arrangement to communicate a cohesive brand story.
What camera settings are essential for capturing sharp product images?
Set your aperture between f/8 and f/11, keep your ISO low (100-200), and use shutter speeds between 1/60 and 1/250 seconds for optimal clarity. Always test your camera settings with trial shots to ensure you achieve the desired sharpness.
How can I refine my product photos during post-processing?
Focus on key adjustments like color correction, exposure balance, and removing imperfections during post-processing. Review each photo at 100% magnification and make necessary edits to enhance overall image quality before finalizing your products for marketing.