


Food Photography Background Tips for Stunning Visuals

Finding a backdrop that consistently enhances your food styling can be a major challenge for professional photographers across the United States, Canada, and Europe. The right material does more than set the mood—it shapes how texture and freshness are perceived in every shot, making your work stand out in crowded social feeds and e-commerce listings. This guide offers actionable strategies for selecting materials that balance visual impact, durability, and creative flexibility, keeping your food photography sharp and compelling for every client and project.
Table of Contents
- Step 1: Select The Right Backdrop Material
- Step 2: Prepare Your Shooting Surface Effectively
- Step 3: Arrange Lighting For Optimal Background Impact
- Step 4: Style Food To Complement The Backdrop
- Step 5: Check And Adjust For Professional-Looking Shots
Quick Summary
| Key Point | Explanation |
|---|---|
| 1. Choose Appropriate Backdrop | Select materials like wood or marble to complement your food style and enhance visual storytelling. |
| 2. Prepare Shooting Surface | Clean and inspect surfaces for stability to create a flawless foundation for your food photography. |
| 3. Utilize Natural Lighting | Use natural light and controlled angles to create depth and prevent glare on your backdrop. |
| 4. Style Food Thoughtfully | Arrange food and props to create a cohesive visual relationship with the backdrop for optimal impact. |
| 5. Review and Edit Meticulously | Focus on image composition and subtle adjustments to elevate your food photography to professional quality. |
Step 1: Select the Right Backdrop Material
Choosing the perfect backdrop material is crucial for creating stunning food photography that makes your dishes look absolutely irresistible. Your backdrop isn’t just a background - it’s a strategic design element that can dramatically enhance or completely undermine your visual storytelling.
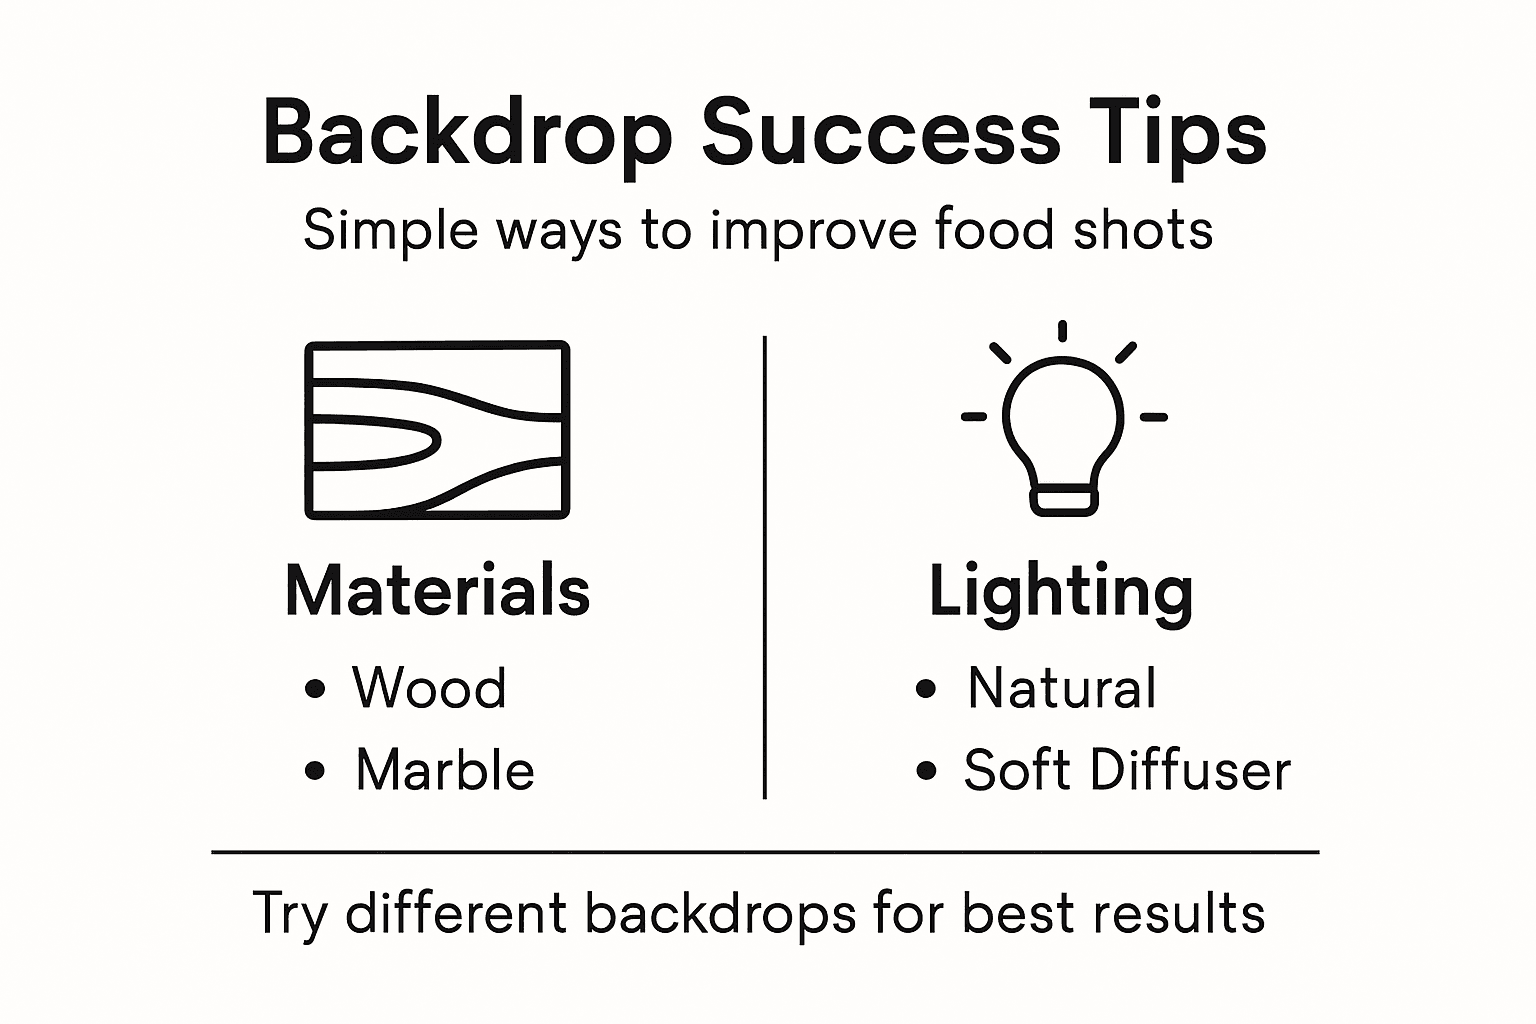
When selecting backdrop materials, photographers must consider multiple factors including texture, color, and how the surface interacts with food styling. Texture and visual perception play a significant role in creating compelling images that draw viewers into the scene. Wood, marble, concrete, or neutral-toned surfaces each communicate different sensory impressions:
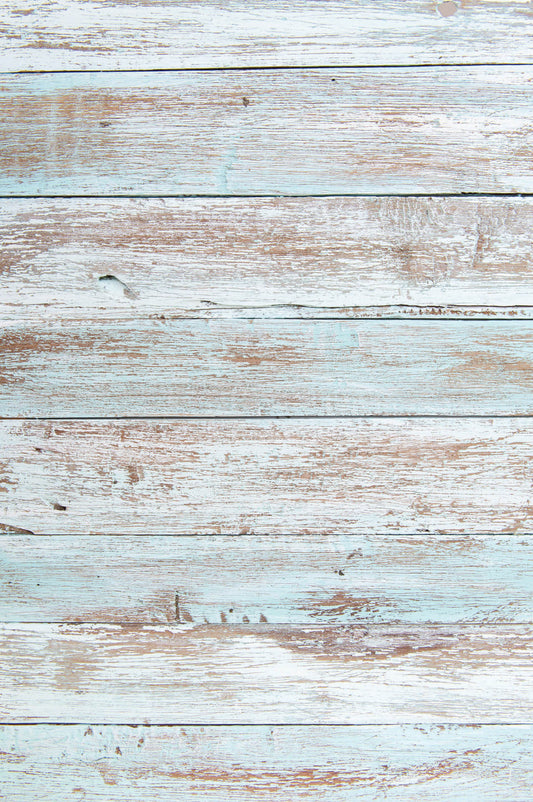
- Wood backdrops work brilliantly for rustic, hearty dishes
- Smooth stone surfaces complement elegant, minimalist presentations
- Matte ceramic boards create clean, sophisticated backgrounds
- Textured linens add depth and warmth to delicate pastry shots
Professional food photographers understand that backdrop selection goes beyond mere aesthetics. A well-chosen surface can highlight food’s intricate details, create visual depth, and guide the viewer’s eye exactly where you want it to land. The goal is creating an environment that makes your culinary subject look so appealing that viewers can almost taste it through the image.
Here’s a quick comparison of popular food photography backdrops and the moods they create:
| Backdrop Material | Best For | Mood Conveyed |
|---|---|---|
| Natural Wood | Hearty, rustic food | Cozy and inviting |
| Smooth Marble | Elegant desserts | Clean and luxurious |
| Matte Ceramic | Modern dishes | Minimal and refined |
| Textured Linen | Pastries & cakes | Soft and warm |
Selecting the right backdrop is like choosing the perfect frame for a masterpiece - it should enhance, not overshadow, the main subject.
Pro tip: Test multiple backdrop materials by creating sample shots and comparing how different surfaces interact with lighting, texture, and color of your specific dishes.
Step 2: Prepare Your Shooting Surface Effectively
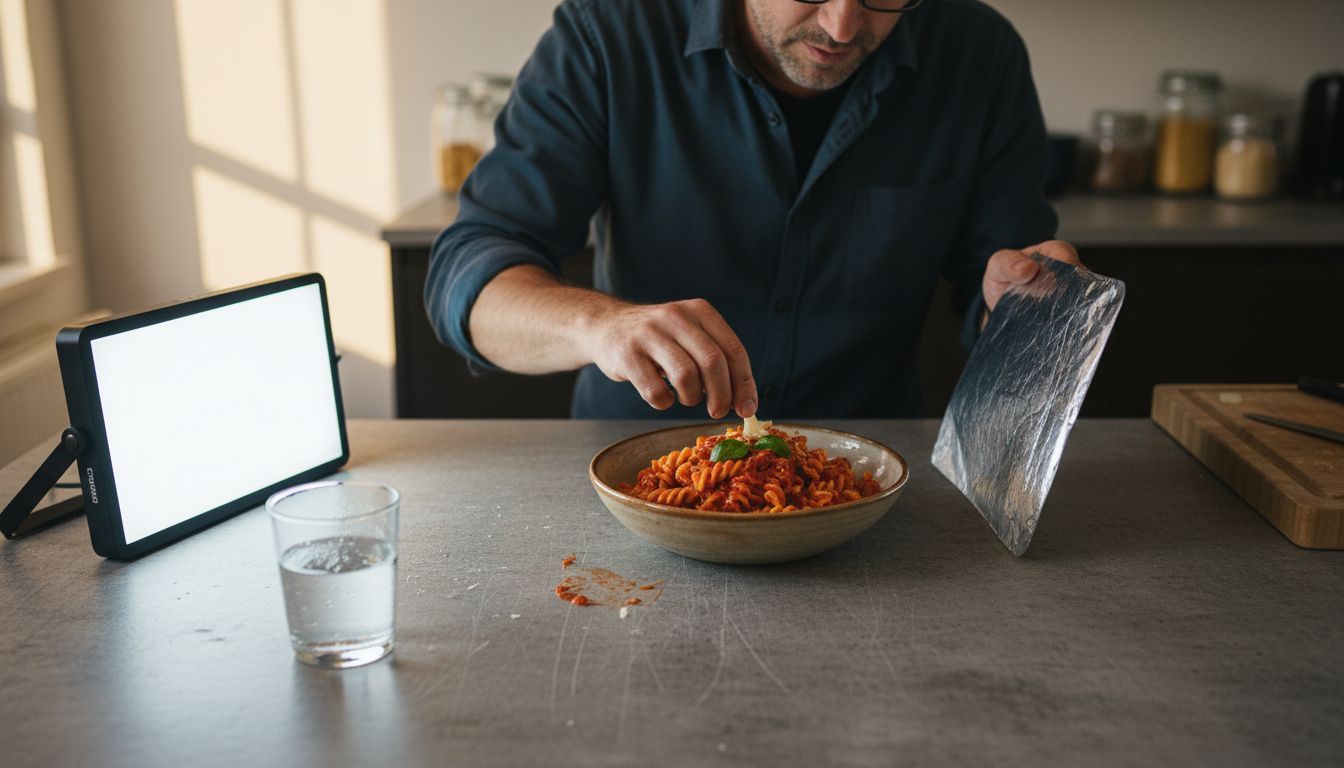
Preparing your shooting surface is a critical step that can make or break your food photography results. Think of your backdrop as the stage where your culinary masterpiece will perform, and every detail matters in creating a professional, visually compelling image.
To create a flawless foundation for your food shots, you’ll need to carefully prepare your shooting surface with precision and care. Professional photographers understand that surface preparation involves more than just cleaning - it’s about creating a strategic environment that enhances your food’s visual appeal:
- Clean thoroughly to remove dust, fingerprints, and imperfections
- Inspect for flatness and stability before placing food
- Choose non-reflective materials to minimize unwanted glare
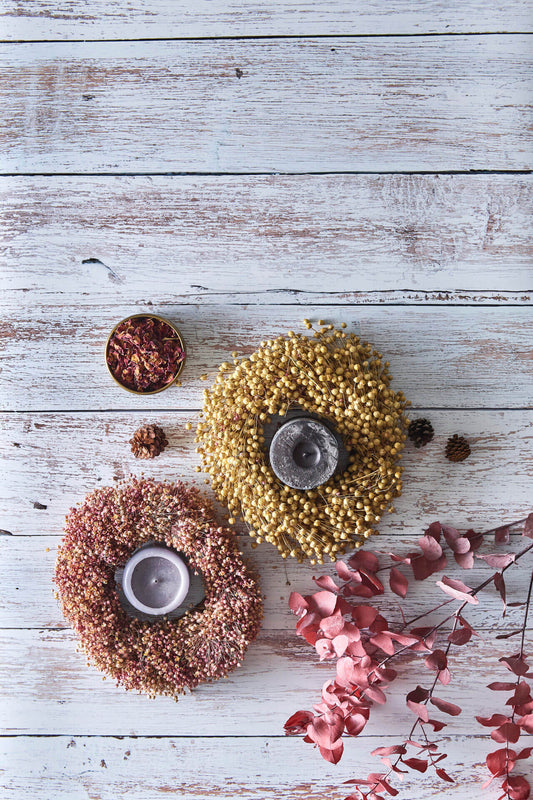
- Add textural elements strategically to create visual interest
The goal is to develop a backdrop that supports your food styling without competing with it. This means selecting surfaces that complement your dish’s colors, textures, and overall mood. Whether you’re shooting a rustic bread or an elegant dessert, your backdrop should act like a supporting actor - present but never stealing the spotlight.
A perfectly prepared surface is like an invisible canvas that lets your food tell its own delicious story.
Pro tip: Keep a microfiber cloth and mild cleaning solution nearby to make quick surface touch-ups during your photoshoot, ensuring your backdrop remains pristine throughout the session.
Step 3: Arrange Lighting for Optimal Background Impact
Lighting can transform an ordinary food photograph into a mouthwatering masterpiece. Understanding how to strategically position and control light will elevate your backdrop from a simple background to an integral part of your visual storytelling.
Professional photographers know that lighting techniques are critical for creating depth and visual interest in food photography. Mastering light involves more than just illuminating your subject - it’s about creating a harmonious interaction between your food, backdrop, and surrounding environment:
- Utilize natural daylight whenever possible for soft, flattering illumination
- Position lights at 45-degree angles to create gentle shadows and texture
- Experiment with three-point lighting to separate subject from background
- Control light intensity to prevent washing out background details
The nuanced art of lighting requires understanding how different light sources interact with your backdrop’s texture and color. Soft, diffused light can help minimize harsh shadows and create a more inviting atmosphere, while carefully controlled artificial lighting can add drama and depth to your food imagery.
Lighting is the secret ingredient that transforms a good food photograph into an unforgettable visual feast.
Pro tip: Invest in adjustable light diffusers and reflectors to give yourself maximum flexibility in controlling light quality and direction during your food photography sessions.
Step 4: Style Food to Complement the Backdrop
Creating a visually stunning food photograph is an art of intentional harmony between your culinary subject and its background. Your styling choices can transform an ordinary image into a compelling visual narrative that makes viewers want to reach out and taste the food.
Professional food photographers understand that food styling requires artistic precision to create a cohesive and appetizing composition. Styling isn’t just about making food look good - it’s about creating a deliberate relationship between the food and its backdrop:
- Select color palettes that create visual dialogue between food and background
- Use garnishes strategically to add texture and depth
- Arrange ingredients to guide the viewer’s eye across the image
- Consider plate and prop placement to enhance overall composition
The magic happens when your styling choices subtly echo the backdrop’s characteristics. A rustic wooden background might inspire rough-chopped herbs and earthy ceramic plates, while a sleek marble surface could call for precise, minimalist plating with clean lines and monochromatic elements.
Great food photography tells a story where every element - from the tiniest herb to the backdrop’s texture - speaks a unified visual language.
Pro tip: Experiment with different styling approaches by shooting the same dish on multiple backdrops to discover unexpected visual connections and surprising aesthetic relationships.
Step 5: Check and Adjust for Professional-Looking Shots
The final stage of creating exceptional food photography is a meticulous review process that transforms good images into extraordinary visual stories. Your camera’s initial capture is just the beginning of crafting a professional-quality photograph.
Mastering photographic editing techniques requires a systematic approach to refining your images. Professional photographers focus on subtle adjustments that enhance the natural beauty of food and backdrop without creating an artificial appearance:
- Examine image composition for balanced visual weight
- Check color temperature for true-to-life whites and accurate tones
- Fine-tune exposure to reveal intricate food details
- Control image saturation to maintain natural-looking colors
- Sharpen key textures without introducing visual noise
Every adjustment should serve a specific purpose: highlighting the food’s most appealing characteristics while maintaining the backdrop’s integrity. This means making precise edits that draw the viewer’s eye exactly where you want it to land, creating a seamless visual experience that feels both intentional and effortless.
Use this summary as a reference for professional editing priorities in food photography:
| Editing Step | Purpose | Common Adjustment |
|---|---|---|
| Composition Review | Ensure balanced framing | Crop or realign image |
| Color Temperature Check | Achieve natural whites & tones | Adjust warmth or coolness |
| Texture Sharpening | Enhance visual detail | Apply subtle sharpening |
| Saturation Control | Maintain realistic colors | Fine-tune vibrancy |
Professional food photography is about creating an illusion so perfect that viewers can almost taste the image.
Pro tip: Always edit images at 100% zoom to catch minute details that might be invisible at smaller sizes, ensuring your final image meets professional standards.
Elevate Your Food Photography with the Perfect Backdrop
Struggling to find that flawless background that brings out your dishes’ true beauty? The article highlights how choosing the right backdrop material and preparing your shooting surface are essential for mouthwatering food photos. Avoid distractions like glare or colors that clash and create a setting where every detail from texture to lighting complements your culinary masterpiece.

Instant Backdrops offers a diverse selection of ultra-realistic, durable vinyl backdrops crafted specifically to enhance food photography. Explore our Stone backdrops collection for product & food photography – Instant Backdrops to find elegant marble and stone-inspired surfaces or browse All product photography backdrops – Instant Backdrops for options like rustic wood and textured linens. Designed to withstand spills, close-up shoots, and frequent use, our backdrops help you create stunning visuals with ease. Start transforming your food styling and lighting setups today by visiting Instant Backdrops and discover how professional-quality backgrounds can make your images truly irresistible.
Frequently Asked Questions
What backdrop materials work best for food photography?
Choosing the right backdrop material can greatly enhance your food imagery. Opt for textures like wood for rustic dishes, smooth marble for elegant presentations, or matte ceramic for modern aesthetics.
How do I prepare my shooting surface for food photography?
To effectively prepare your shooting surface, ensure it’s thoroughly cleaned and free of dust or fingerprints. Inspect the surface for flatness and stability before you place your food to ensure a professional look.
What lighting techniques should I use to improve my food photography backdrop?
Utilize natural daylight for softer, more flattering illumination and position lights at 45-degree angles to add texture through gentle shadows. Experiment with light intensity to enhance the details in your backdrop without overwhelming your food.
How can I style food to complement my backdrop?
Styling food to harmonize with your backdrop involves selecting color palettes that create visual dialogue between them. Use garnishes and arrange ingredients thoughtfully to lead the viewer’s eye and enhance your composition.
What editing adjustments are crucial for finalizing food photography?
Key editing adjustments include reviewing composition for balance, checking color temperature for accurate tones, and sharpening key textures. Make these adjustments carefully to draw attention to your food while maintaining the backdrop’s integrity.
Recommended
Editor’s Picks
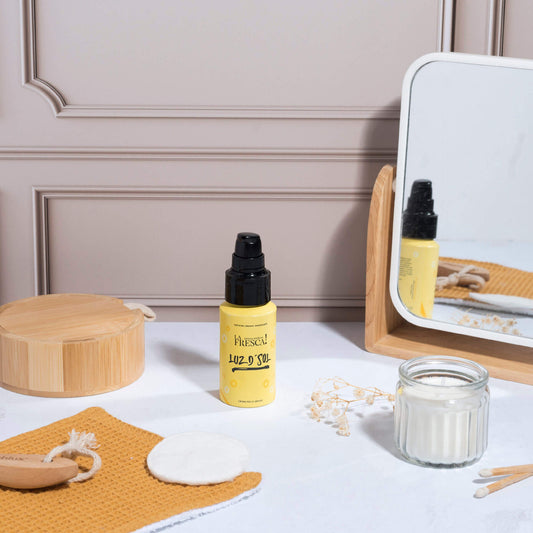
White panels
- From €34,00
- From €34,00
- Unit price
- per

Antique panels
- From €34,00
- From €34,00
- Unit price
- per
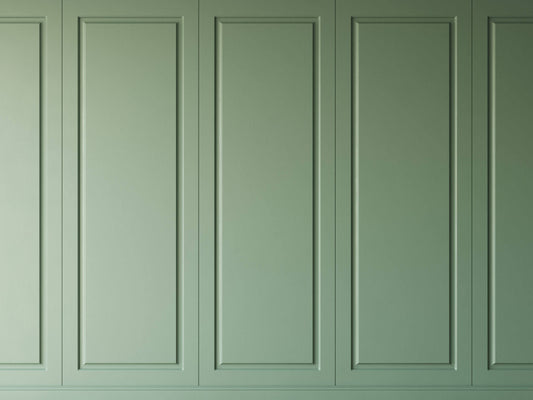
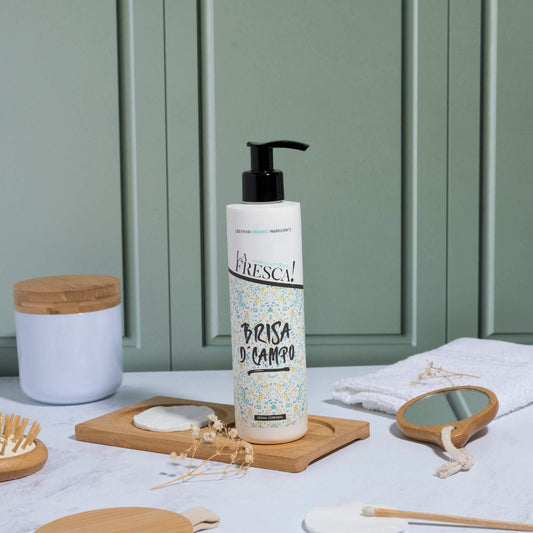
Sage panels
- From €34,00
- From €34,00
- Unit price
- per

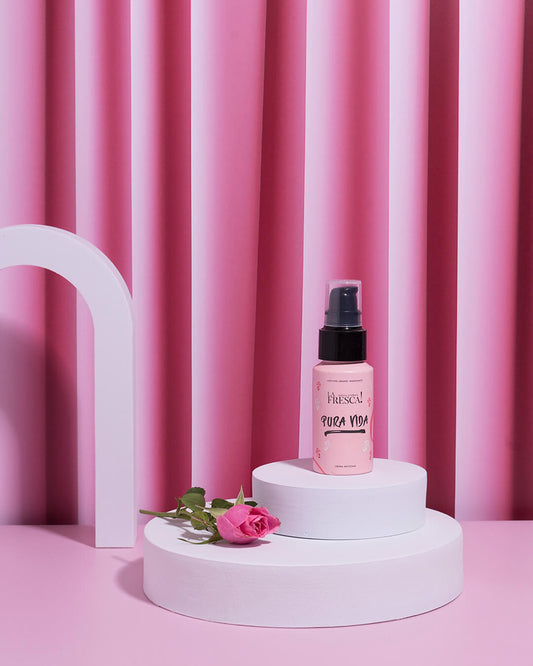
Pink drape
- From €34,00
- From €34,00
- Unit price
- per