
Wood texture backdrops guide: elevate your photography
TL;DR:
- Wood texture backdrops enhance authenticity, depth, and emotional appeal in photography.
- Choices include reclaimed, painted, or raw wood panels, each suited to different styles and needs.
- Proper maintenance and layering with props can maximize their visual impact and storytelling.
Not every backdrop is created equal. While many photographers obsess over lighting setups and lens choices, the surface beneath the subject often gets an afterthought treatment. That’s a mistake. Wood texture backdrops bring warmth, depth, and an unmistakable sense of place to lifestyle, food, and product shots. They communicate quality before the viewer reads a single word of copy. This guide walks you through why wood textures stand apart, how to compare your options, and practical steps to buy, build, or maintain the perfect backdrop for your creative work.
Table of Contents
- Why wood texture backdrops matter in modern photography
- Types of wood texture backdrops: Options for every creator
- Wood vs. vinyl and synthetic: When authenticity really counts
- Buying, making, and maintaining your wood backdrops
- Our perspective: What most photographers miss about wood texture backdrops
- Take your photography further with the right backdrop
- Frequently asked questions
Key Takeaways
| Point | Details |
|---|---|
| Wood adds authenticity | Real wood backdrops create natural texture and depth that boost photo trustworthiness. |
| Know your options | Choose from reclaimed, painted, or raw boards to suit lifestyle, product, or food shoots. |
| DIY or buy wisely | Both custom-building and purchasing premium backdrops can deliver excellent results if maintained properly. |
| Compare carefully | Wood beats vinyl for realism and durability but requires more care and investment. |
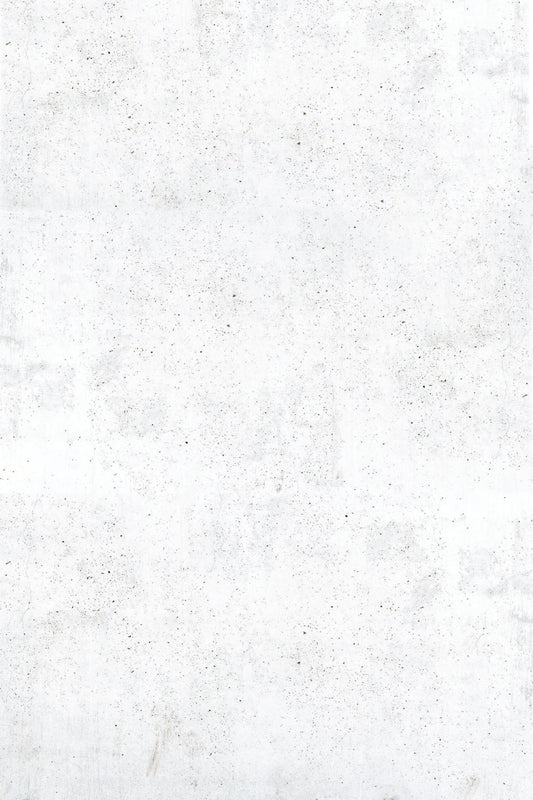
Why wood texture backdrops matter in modern photography
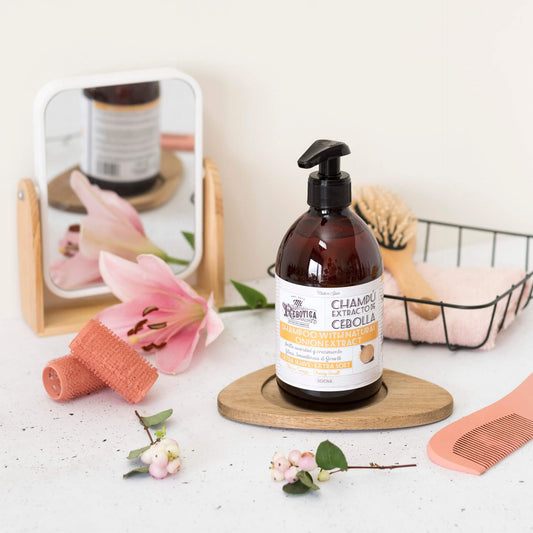
Texture in photography is not decorative. It’s psychological. When viewers see a realistic surface, their brain interprets the scene as real and trustworthy. A smooth, featureless background signals a studio setup. A wood surface with visible grain, subtle knots, or gentle color variation signals an environment, a story, a lifestyle. That distinction matters enormously for conversion rates and engagement when you’re photographing products or food.
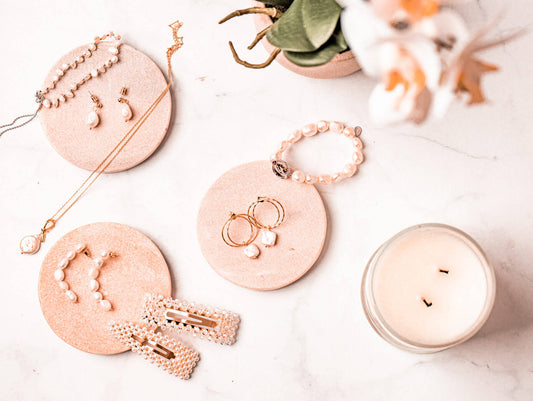
Wood surfaces work across genres in ways that few other materials can match. Consider what a weathered plank does for a charcuterie board shot compared to a plain white surface. The food looks more appetizing, more artisanal, more worth buying. The same logic applies to jewelry, candles, skincare, and lifestyle props. As examples of backdrop styles demonstrate, the surface you choose sets the entire emotional tone of the frame.
Here’s what wood texture backdrops do better than generic alternatives:
- Add depth and dimension that flat synthetic surfaces can’t replicate
- Create consistent mood across a brand’s entire photo library
- Complement natural light beautifully, especially warm or golden tones
- Work as foreground and background in flat lay and 45-degree setups
- Age gracefully, with patina that often improves visual character over time
“Wood backdrops are superior for authenticity and durability versus vinyl for studio work, and are the go-to choice for serious food photographers.”
Food and product photography experts consistently point to backdrop authenticity as a trust signal for online buyers. When shoppers see products on a real, textured surface, they form a positive quality association faster. Exploring top wooden backdrop ideas can spark fresh creative directions and help you build a cohesive visual identity for any brand or project.
The bottom line is this: texture communicates craft. Wood does it better than almost anything else available to photographers today.
Types of wood texture backdrops: Options for every creator
Now that you know why wood textures matter, let’s look at your options for bringing them into your studio. Not all wood backdrops are built the same, and the right choice depends heavily on your content type, shooting frequency, and budget.
The three main categories to know:
- Reclaimed wood planks — Raw, aged boards with rich natural patina. Best for rustic, farmhouse, or artisan aesthetics. Heavy and harder to transport, but visually unmatched.
- Painted or stained wooden boards — Sanded smooth and finished with paint or stain, then sealed. Great for controlled color palettes and versatile use across product categories. Painted boards work especially well for jewelry, crafts, and food when sealed with a matte finish for a rustic yet refined texture.
- Raw or lightly treated wood panels — Minimal processing, showing natural grain and color. Ideal for botanical, wellness, or lifestyle photography.
Here’s a quick comparison to guide your decision:
| Type | Cost | Durability | Weight | Style flexibility |
|---|---|---|---|---|
| Reclaimed planks | Medium to high | Very high | Heavy | Narrow (rustic) |
| Painted/stained boards | Low to medium | High | Medium | Wide |
| Raw wood panels | Low | Medium | Light to medium | Medium |
For product photography, painted and stained boards offer the most control. You pick the color, finish, and grain visibility. For food photography, reclaimed planks add natural credibility. For lifestyle backdrop setups, raw panels with visible grain bring an organic, editorial feel.
Pro Tip: Invest in reversible or double-sided boards. Paint one side light and one side dark, or use two different stain colors. You double your backdrop options for a fraction of the cost and storage space.
Wood vs. vinyl and synthetic: When authenticity really counts
Choosing a backdrop material goes beyond looks, so let’s compare wood to the main alternatives. Both materials have earned their place in professional kits, but they serve different purposes.
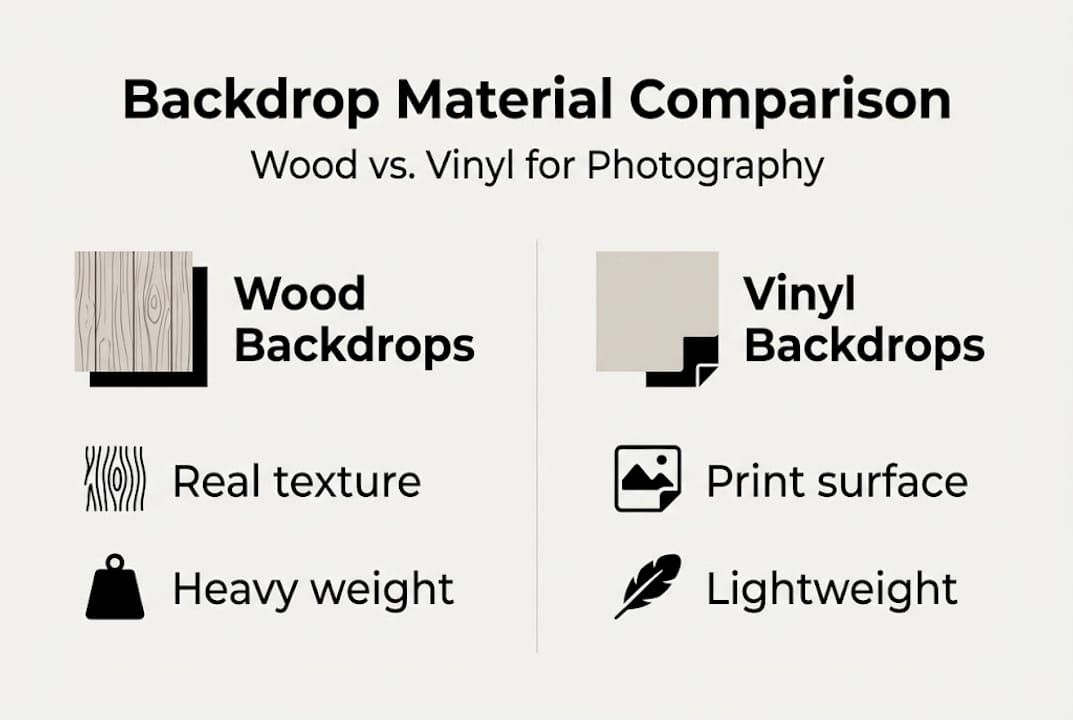
| Feature | Wood | Vinyl |
|---|---|---|
| Texture realism | Exceptional | Good (printed simulation) |
| Price | $80 to $150 for 2x3ft | $30 to $90 for similar size |
| Portability | Low to medium | High |
| Cleaning ease | Moderate (requires sealing) | Very easy (wipe clean) |
| Durability | Very high | High |
| Style range | Moderate | Very wide |
Wood wins on authenticity. No printed vinyl surface fully replicates the three-dimensional tactile quality of real wood grain under raking or natural light. For close-up shots where the camera is inches from the surface, wood backdrops are preferred for authenticity and durability in professional studio work. Vinyl is lightweight and easy to roll up and store, which makes it ideal for photographers who travel or work in multiple locations.
Common mistakes photographers make when switching between materials:
- Using flat, glossy vinyl labeled as “wood look” for food photography, which creates distracting reflections
- Not sealing real wood before food shoots, leading to staining and contamination risks
- Choosing reclaimed wood that’s too dark for the product’s color palette, killing contrast
- Ignoring weight when ordering real wood boards for on-location shoots
For those curious about the full range of what printed surfaces can offer, a deeper vinyl backdrop comparison is worth your time. And if you want to understand where vinyl genuinely excels, reading about the advantages of vinyl backdrops helps you make a smarter combined investment in both materials.
Buying, making, and maintaining your wood backdrops
Once you’ve chosen your backdrop, here’s how to get and keep the best results, whether you buy or DIY.
Buying from suppliers: Reputable names in the wood backdrop space include Texturit and Woodville Workshop, with 2x3ft boards typically priced between $80 and $150. Avoid mass-import boards with uneven sanding or inconsistent staining. Ask for close-up photos of the actual surface before buying, not just marketing images. Check reviews specifically for food photography use.
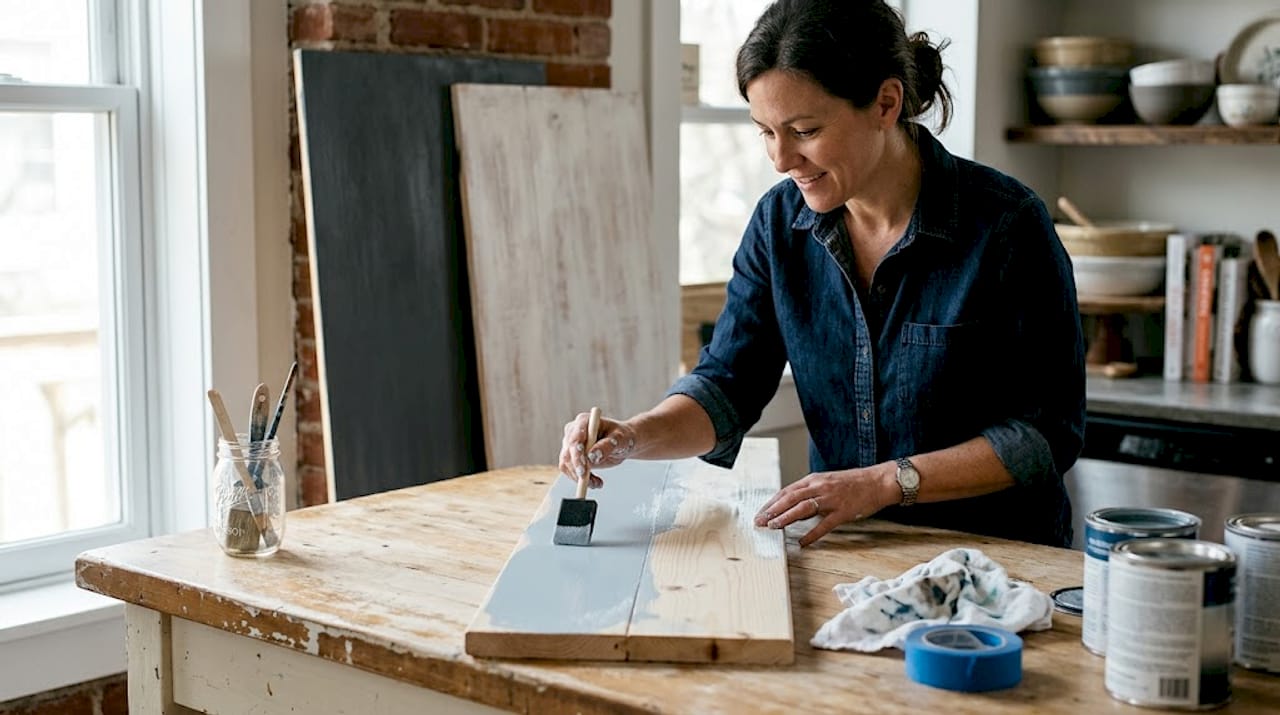
DIY build process:
- Select your wood. Plywood, MDF, or solid pine each offer different grain characteristics.
- Sand thoroughly, starting with 80-grit and finishing with 220-grit for a smooth but textured surface.
- Apply your chosen paint or stain in thin, even coats. Let each coat dry fully before adding the next.
- Seal with a matte sealant. Per DIY backdrop best practices, a matte finish prevents glare and protects the surface for food and product use over time.
- Let cure for 48 hours minimum before your first shoot.
Pro Tip: For food safety, choose a food-grade sealer or a water-based polyurethane with a matte topcoat. This lets you wipe the board clean without worrying about moisture absorption or contamination.
Maintenance routine:
- Wipe down after every food shoot with a barely damp cloth
- Spot treat stains with a mild dish soap solution, then dry immediately
- Reseal every three to six months depending on frequency of use
- Inspect for chips, deep scratches, or warping before each session
Knowing how to choose the right backdrop from the start reduces waste and maintenance headaches later. When boards start warping significantly or the surface can no longer be cleaned to a consistent look, it’s time to replace rather than repair.
Our perspective: What most photographers miss about wood texture backdrops
Most advice about wood backdrops focuses on color and size. That’s useful, but it misses the bigger picture. Texture is the real variable that separates average shots from images that stop people mid-scroll.
Seasoned photographers know that imperfection is an asset, not a flaw. A knot in the wood, a subtle crack, an area where the stain ran slightly uneven — these details add authenticity that no perfectly smooth surface can fake. When a buyer sees a skincare product sitting on a board with real character, they unconsciously trust the brand more. That’s not a design theory. It’s a measurable effect on conversion.
The mistake we see most often is photographers buying “wood look” vinyl for close-up product shots, expecting it to behave like the real thing. Under macro lighting, the difference is obvious. Real grain has variation. Printed grain has repetition. Your audience notices even if they can’t articulate why.
We encourage you to experiment with layering — linen napkins over weathered boards, herbs or dried flowers at the edges, a contrasting ceramic prop in the foreground. Explore creative backdrop setups to see how small additions to a wood surface can define a brand’s entire visual identity. Don’t treat your backdrop as a neutral stage. Treat it as a collaborator.
Take your photography further with the right backdrop
You now have a clear picture of what makes wood texture backdrops worth the investment and how to get the most out of them. The next step is finding surfaces that match your creative vision without the guesswork.
At Instant Backdrops, we carry a curated selection of wood texture backdrops built for professional use. Our vinyl wood surfaces are printed at high resolution and designed to withstand close-up shots, spills, and frequent use. Whether you need a warm oak tone for food photography or a cool gray plank for product work, you’ll find options that deliver real visual impact. Browse the collection and let the right surface do the storytelling for you.
Frequently asked questions
What size wood backdrop is best for product or food photography?
A 2x3 foot board is a popular, versatile size that balances coverage with portability for most tabletop work. Suppliers like Texturit and Woodville Workshop offer this size for between $80 and $150.
How do you clean and maintain wood texture backdrops?
Wipe them with a damp cloth after each use and reseal with a matte finish every few months to preserve both appearance and durability. Following proper sealing practices keeps the surface food-safe and long-lasting.
Are wood backdrops better than vinyl for most photography uses?
For realism and durability, wood is the stronger choice, but vinyl is lighter and far easier to store and transport. Wood is preferred for close-up authenticity, while vinyl suits photographers who shoot in multiple locations.
Can you make your own professional-quality wood backdrop?
Absolutely. By sanding, staining or painting, then sealing wooden boards with a matte finish, you can build a high-quality custom surface at a fraction of retail cost. The DIY process is straightforward and produces results that rival purchased boards when done carefully.