

What defines a professional photography setup: expert guide
TL;DR:
- Reliable studio results depend on lighting discipline, backdrops, and preparation, not camera cost.
- Proper space, lighting, modifiers, and durable backdrops are essential for professional photography setups.
- Preparation and control are more important than expensive gear in achieving professional quality.
Most photographers assume that upgrading to a more expensive camera is the fastest path to professional results. That belief misses the bigger picture. A professional setup is defined by reliability, control, and consistent quality, not by how much you spent on your body. The real differentiators are lighting discipline, backdrop quality, and preparation. Whether you shoot product flats, lifestyle scenes, or studio portraits, this guide walks through the equipment, materials, and mindset that actually separate professional-grade work from the rest.
Table of Contents
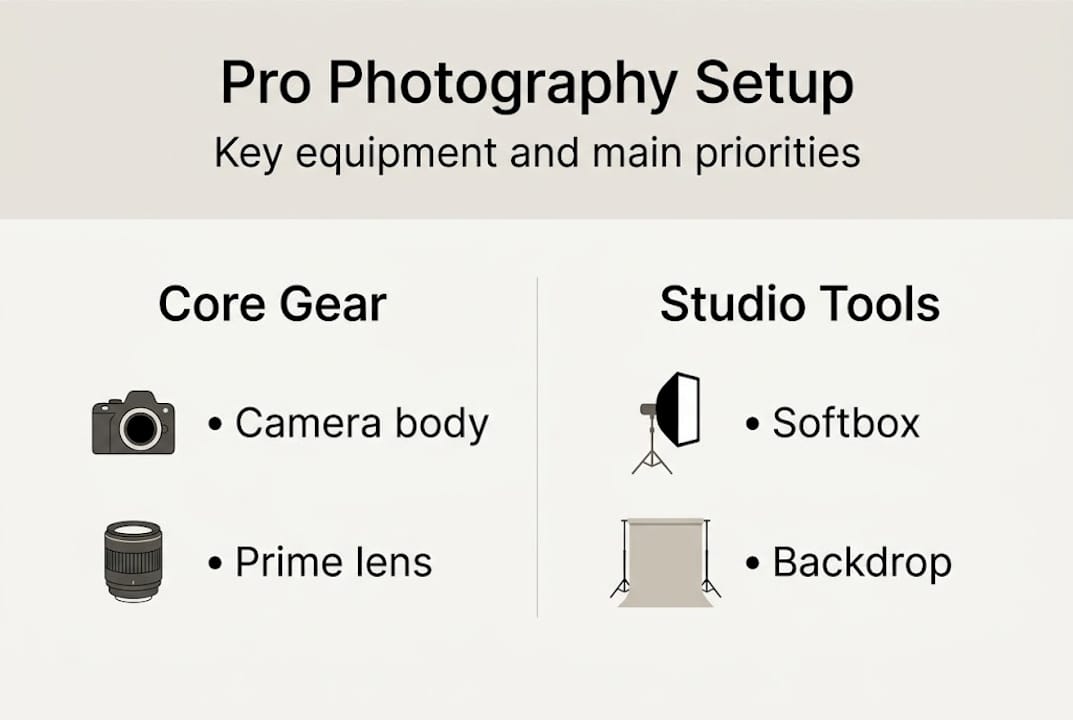
- Core equipment and studio essentials
- Backdrop materials and qualities for professionals
- Lighting: The pro’s secret weapon
- The professional mindset: Skill, preparation, and adaptability
- Our take: What most guides miss about pro photography setups
- Enhance your setup with professional backdrops
- Frequently asked questions
Key Takeaways
| Point | Details |
|---|---|
| Focus on lighting quality | Controlled, soft lighting produces professional results regardless of camera cost. |
| Choose durable backdrops | Wrinkle-resistant and washable backdrops improve workflow and consistent image quality. |
| Preparation beats expensive gear | Skillful setup and stability matter more than having the latest equipment. |
| Neutral colors increase versatility | Gray and white backdrops fit most product and storytelling needs. |
| Upgrade when reliability is critical | Professional setups prioritize redundancy, weather-sealing, and reliable support equipment. |
Core equipment and studio essentials
Building a functional studio starts long before you pick up a camera. Space is the first constraint most photographers underestimate. You need room to position lights without them bleeding into each other, distance for compression with telephoto lenses, and ceiling height to allow modifiers to do their job. Core categories include space, lighting, modifiers, backdrops, and editing, and getting each category right matters more than splurging on any single item.
For cameras, a full-frame sensor gives you cleaner high-ISO performance and better dynamic range for tricky lighting conditions. That said, the lens choice often matters more. Fast prime lenses in the 50mm to 85mm range deliver sharpness, subject separation, and low-light capability that zoom lenses simply cannot match at equivalent price points. Pair your camera with a solid tripod and a remote shutter release to eliminate camera shake entirely on slower exposures.
Lighting is where most setups either succeed or fall flat. Strobe systems give you power and consistency for studio work, while LED panels offer continuous light that is easy to monitor in real time. Both become far more versatile when paired with the right modifiers.
Essential studio gear checklist:
- Full-frame or crop-sensor camera body with a fast prime lens
- Strobe or LED lights with at least 200W output per head
- Softboxes and shoot-through umbrellas for diffused light
- Adjustable light stands and a sturdy backdrop support system
- Color-calibrated monitor for accurate post-processing
- Clamps, sandbags, and gaffer tape for rigging stability
| Gear category | Entry level | Mid-level | Pro level |
|---|---|---|---|
| Camera body | Crop sensor | Full-frame mirrorless | Medium format |
| Lighting | LED panel kit | Monolight strobes | Strobe with battery pack |
| Backdrop | Paper roll | Vinyl sheet | Mounted vinyl system |
| Modifier | Basic umbrella | Softbox with grid | Octobox + reflector |
Pro Tip: Before buying a new camera body, invest in a quality softbox or octobox. The improvement in light quality will be visible in every single image, while a new body often produces results indistinguishable from your current one at typical web resolutions.
Lighting color accuracy is non-negotiable for product and food photography. Lighting CRI should be above 90 for accurate color rendering, especially when your clients need true-to-life product colors. Check this spec before purchasing any continuous light source. Pair your lighting choices with thoughtful backdrop ideas for professionals to create a cohesive, repeatable setup. You can also review the vinyl backdrops benefits to understand why surface material matters as much as the light itself. For a broader breakdown of costs by tier, the photography studio budget guide offers a clear framework.
Backdrop materials and qualities for professionals
The backdrop is not background noise. It is an active part of your composition. Choosing the wrong material creates distracting textures, unwanted reflections, or wrinkles that cost you time in post-processing. The right backdrop makes your subject or product shine without competing for attention.
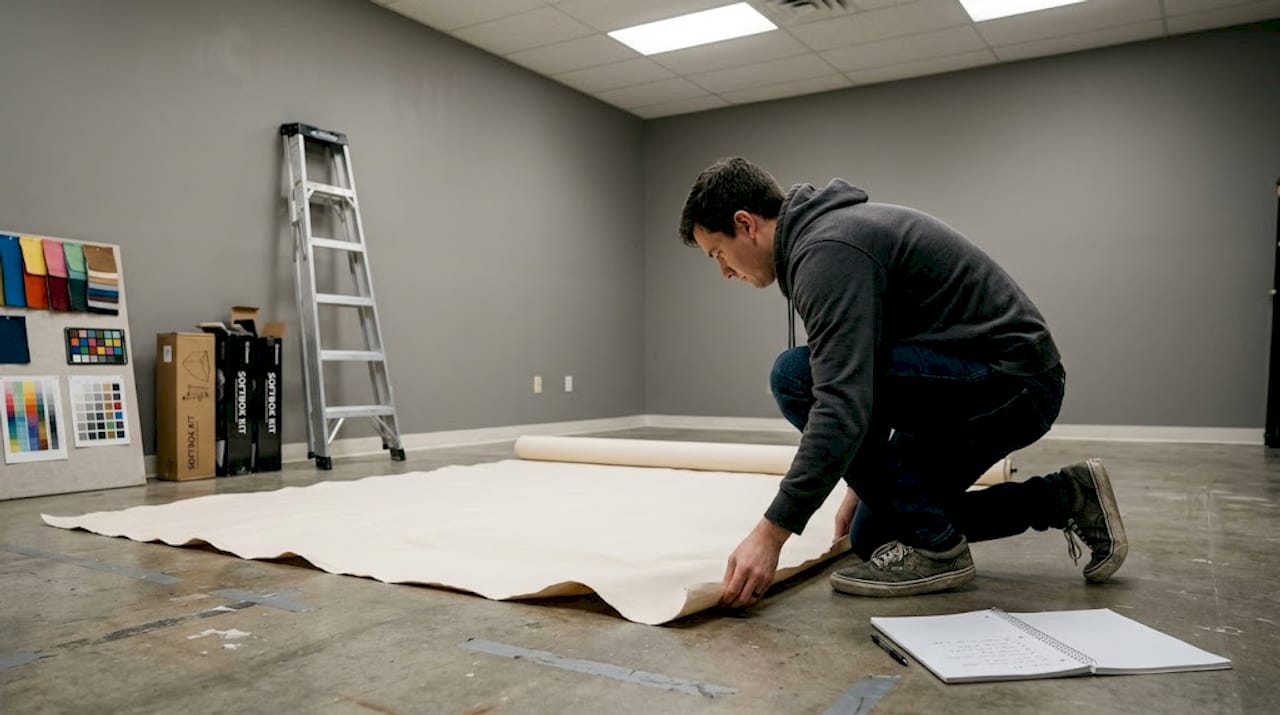
Durable backdrop options include muslin, vinyl, seamless paper, microfiber, and canvas, each with different strengths depending on your shooting scenario. Prioritize wrinkle-resistant materials whenever possible.
| Material | Wrinkle resistance | Sheen | Portability | Best use case |
|---|---|---|---|---|
| Vinyl | Excellent | Low to none | Moderate | Product, food, flat lay |
| Seamless paper | Good | None | High | Portraits, fashion |
| Muslin | Poor without prep | Low | High | Lifestyle, casual portraits |
| Microfiber | Good | Low | High | Travel shoots, events |
| Canvas | Moderate | Varies | Low | Fine art, studio portraits |
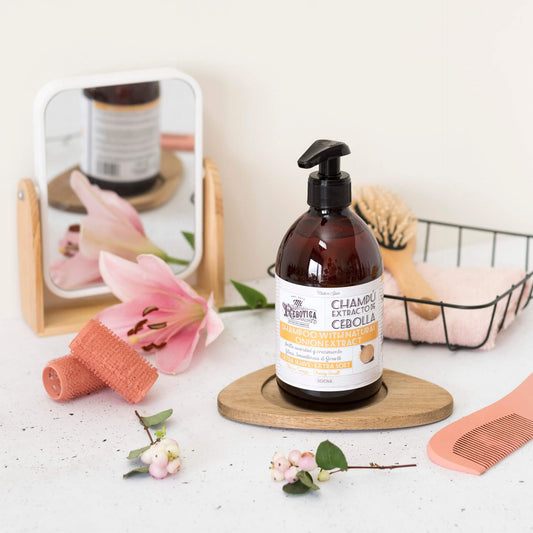
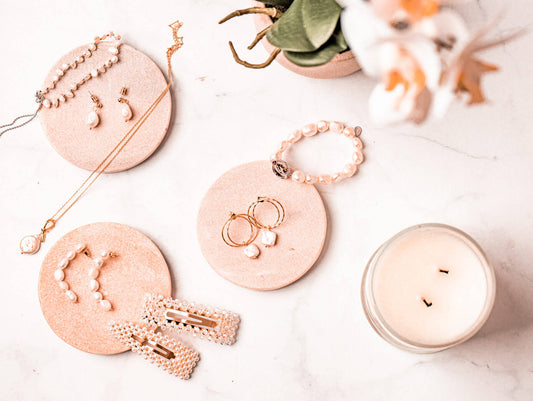
Vinyl stands out for product and food photographers specifically because it is spill-proof, easy to wipe clean, and holds color vibrancy even under intense studio light. Muslin is softer and more forgiving for portrait work but needs steaming or ironing before every session. Seamless paper rolls are the go-to for clean, gradient backgrounds in fashion and editorial work but tear easily and cannot survive a spilled drink.
What to look for when choosing a backdrop:
- Non-reflective matte finish to avoid hotspots under direct flash
- Machine-washable or wipe-clean surface for fast cleanup between sessions
- Large enough dimensions to fill your frame at full-body or wide product shots
- Color options that complement your most common subjects
Prioritize machine-washable, non-reflective surfaces. These two qualities alone will save you more time and money than almost any other backdrop feature you can spec.
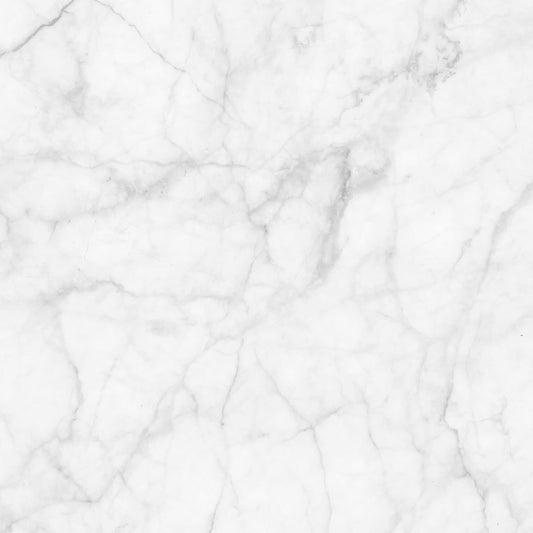
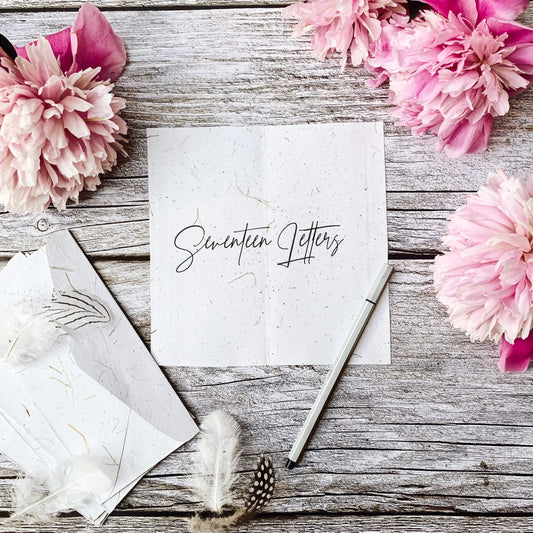
Neutral gray and white remain the most versatile colors for professional backdrops. They work across product categories, skin tones, and lighting setups without needing constant swaps. When you need texture or mood, a stone or wood-effect vinyl gives you visual storytelling without the need for an actual location. Read more about choosing professional backdrops for a detailed comparison, and explore the large backdrops advantages if you frequently shoot full-body or wide-angle product spreads. For creative direction, backdrop styling ideas can help you maximize what you already own.
Lighting: The pro’s secret weapon
Lighting is where amateur setups and professional ones diverge most visibly. A well-lit image on a basic camera beats a poorly lit image on the most expensive body available. The technical standard to hold onto is simple: CRI above 90 is critical for color accuracy, and studio lighting budgets can be structured in tiers without sacrificing quality at the entry level.
Three-point lighting setup for studio work:
- Key light: Place your main light source at a 45-degree angle to your subject, elevated slightly above eye level. This creates natural-looking shadows and dimension.
- Fill light: Position a softer, lower-powered light on the opposite side to reduce harsh shadows from the key. A reflector works just as well here for budget setups.
- Background light: Add a separate light pointed at your backdrop to control its tone and separate your subject from the background cleanly.
| Light type | CRI range | Portability | Best use |
|---|---|---|---|
| Strobe monolight | 90+ | Moderate | Portraits, product |
| LED panel | 95+ | High | Video, flat lay |
| Fluorescent ring light | 80 to 90 | High | Beauty, social content |
| Natural window light | 100 | Fixed | Lifestyle, editorial |
Pro Tip: The physical size of your light source determines how soft or hard the light appears on your subject. A large softbox close to your subject produces beautifully soft, wrapping light. Moving it farther away, or switching to a smaller modifier, increases contrast and hardness. This single variable gives you more creative control than most gear upgrades ever will.
Common pitfalls include using underpowered lights that force high ISO settings, skipping modifiers entirely and shooting with bare flash heads, and failing to light the backdrop separately. Each of these mistakes creates visual noise or flat, dimensionless images. Explore wall backdrop tips for specific guidance on pairing backdrop designs with studio lighting, and review the role of backdrop in shoots to understand how light interacts with surface texture in lifestyle photography.
The professional mindset: Skill, preparation, and adaptability
Gear gets most of the attention in photography discussions, but the professionals who consistently produce great work share something more important: preparation. They plan shoots before the day arrives. They know their lighting ratios, their backdrop choices, and their client’s needs before a single light is turned on.
Pros with budget gear outperform amateurs with expensive gear because preparation and control replace the need for expensive compensation. That is not a motivational talking point. It is a practical reality most working photographers confirm after years in the industry.
What separates professionals in practice:
- Pre-shoot planning: mood boards, lighting diagrams, backdrop selection confirmed in advance
- Redundant gear: backup batteries, extra memory cards, spare bulbs and fuses
- Weather sealing and build quality on primary equipment for location work
- Consistent workflow from capture to delivery, including color-calibrated editing
- Ability to adapt lighting on the fly when conditions change
Investing in lenses and lighting produces a more reliable return than upgrading camera bodies. This is advice repeated by experienced photographers across every genre, from commercial studio work to photojournalism.
Being a pro is not about price. It is about preparation, control, and consistency. Show up with a plan, understand your light, and choose materials that hold up under pressure.
Adaptability also means knowing your gear’s limits. A vinyl backdrop that cleans quickly matters more during a busy product shoot than a canvas that looks beautiful but cannot survive an oil spill. Themed backdrops can extend your storytelling range without adding complexity to your cleanup routine. Understanding the difference between amateur and professional approaches clarifies exactly where to focus your attention and budget next.
Our take: What most guides miss about pro photography setups
Most equipment guides focus on what to buy. The more useful question is what to prioritize. We have seen photographers invest thousands in new camera systems while using wrinkled, reflective backdrops that undermine every shot. The backdrop is the first thing viewers register after the subject itself. If it looks cheap or distracting, the image suffers regardless of sensor size.
Any reliable camera is pro-grade when used thoughtfully. The smarter path is to invest in glass and modifiers before upgrading bodies. The same principle applies to backdrops. Choose surfaces that support your storytelling rather than chasing every new texture trend. A clean matte vinyl in neutral gray will serve more shoots than three trendy printed options combined.
When should you upgrade gear? When your current setup is genuinely limiting the client outcome, not because something newer exists. That discipline, more than any purchase decision, defines professional work. Explore large backdrops in pro studios for practical guidance on sizing decisions that match real studio workflows.
Enhance your setup with professional backdrops
You now have a clear picture of what a professional studio actually needs: controlled lighting, the right modifier choices, and backdrops that hold up session after session without fuss.
At Instant Backdrops, we design professional backdrops for product photography that are built around exactly those needs. Our vinyl backdrops are spill-proof, wrinkle-resistant, and printed in high resolution so they hold up under close-up shots and harsh studio lighting. From marble and stone to wood and decorative walls, each backdrop is ready to support your visual storytelling from the moment it arrives. Browse our full range and find the right surface for your next shoot.
Frequently asked questions
What is the minimum space required for a professional photography setup?
A space of at least 10x12 feet with high ceilings is recommended for controlled lighting and backdrop placement. This gives you room to position lights, modifiers, and your subject without crowding.
Which backdrop material is best for product photography?
Neutral gray vinyl or seamless paper suits most product shots for versatility and ease of use. Durable materials like vinyl also resist stains and clean quickly between sessions.
Does expensive equipment automatically make a setup professional?
No. Preparation, lighting control, and skill matter far more than gear cost. Pros with budget gear consistently outperform amateurs with expensive setups because of preparation and control.
How can I prevent backdrops from wrinkling during shoots?
Use wrinkle-resistant materials like vinyl or matte polyester as your primary option. Wrinkle-resistant, machine-washable backdrops reduce prep time and deliver cleaner results without extra editing work.
What does CRI mean in studio lighting?
CRI stands for Color Rendering Index and measures how accurately a light source reproduces true colors. For professional studio work, aim for CRI above 90 to ensure colors appear correctly in your final images.